How to Clean an Electric Smoker

You’ve invested in your culinary craft, and maintaining your electric smoker is crucial to your art. To ensure optimal performance and longevity, you must clean it regularly and thoroughly.
Start by disconnecting the power and letting your smoker cool; this is about safety as much as it is about careful cleaning. You’ll dismantle the racks and trays, tackling the greasy build-up with a degreaser designed for high-heat appliances. Scrub the interior walls with a solution that won’t damage the surfaces, perhaps a mix of warm water and mild detergent.
Pay special attention to the door seal and glass, as residue here can affect your smoker’s efficiency. After a meticulous wipe-down, reassemble your smoker, and consider a brief ‘burn-in’ session to eliminate any cleaning residue.
Your mastery of the clean-up process is as important as your mastery of smoking, ensuring each smoked creation is as flawless as the last.
Key Takeaways
Pre-Cleaning Preparations
Before you dive into the cleaning process, ensure your smoker’s fully cooled and disconnected from the power source. To clean your electric smoker effectively, make sure the smoker is unplugged and has had ample time to cool down to avoid any risk of burns or electric shock.
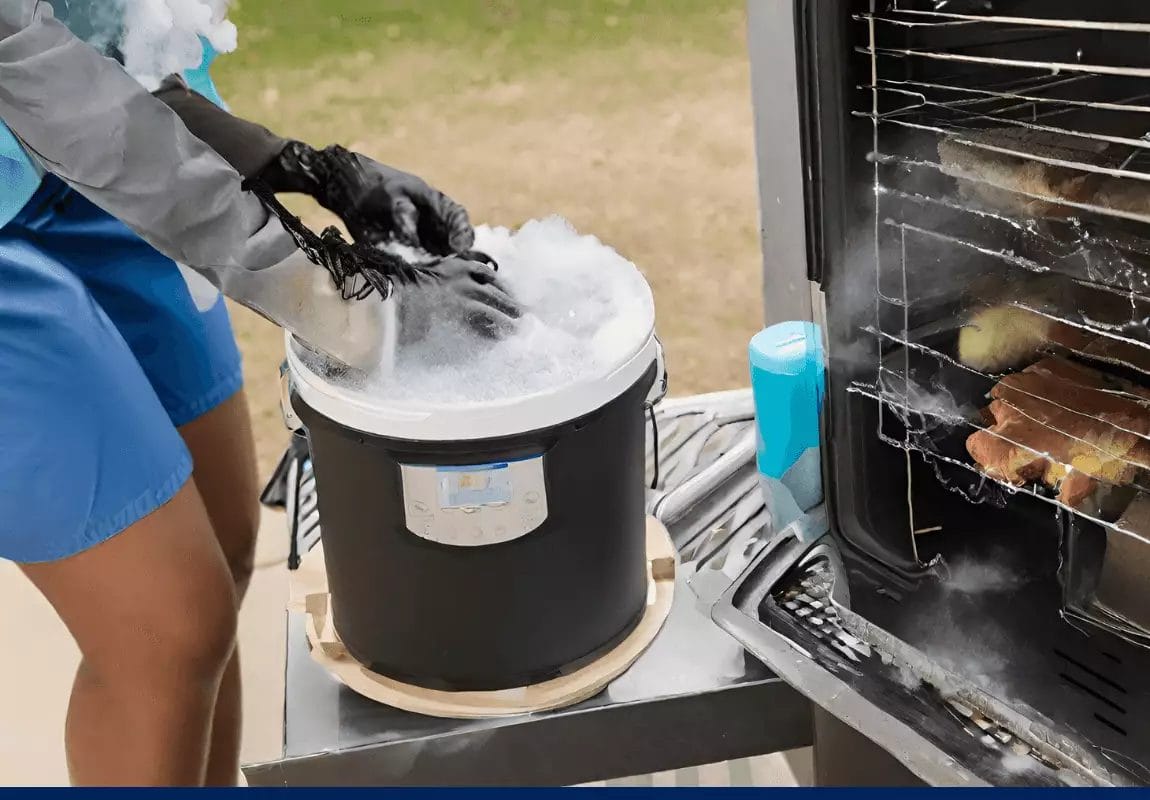
Begin by dismantling the smoker. Remove all removable parts: racks, pans, and any other components designed to come out. This exposes every nook and cranny, allowing for a meticulous cleanse. Soak these parts in warm soapy water to loosen any stubborn smoke residue.
Meanwhile, wipe down the interior surfaces with a damp cloth, targeting areas where grease and residue from smoking meat accumulate, including the electric heating element and door seals.
Disassembling Components
Why not start by carefully removing the racks, drip deflector, and water pans from your electric smoker? Disassembling these components is crucial for a thorough clean.
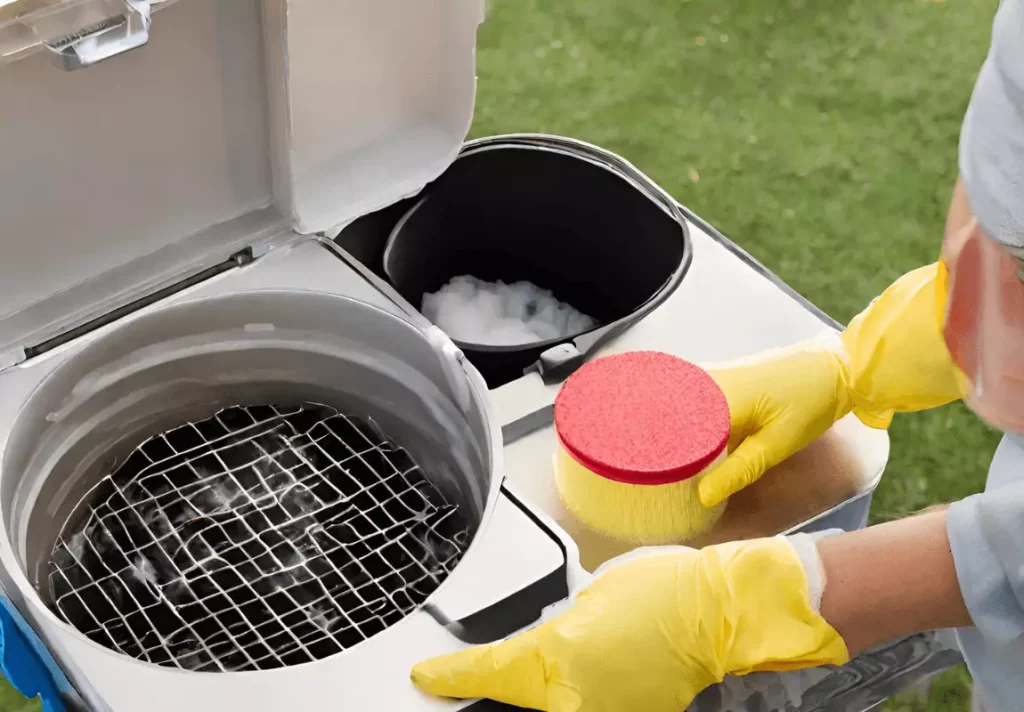
First, take out the racks and wash the grates with soapy water, using a scrub brush to eliminate any buildup. If they’re dishwasher safe, you can place them in your dishwasher for a more effortless cleaning.
Next, remove the drip tray and water pan. If there’s stubborn residue, use steel wool for scrubbing. Don’t forget the chip tray, which may also need attention. Covering the bottom of the smoker with aluminum foil can make future cleaning of the drip tray easier.
Ensure all removable parts are clean and dry before reassembling.
Interior Chamber Scrubbing
After disassembling the components, you’ll need to focus on the interior chamber, scrubbing it down with a warm soapy water solution to tackle the accumulated grease and grime. When cleaning your electric smoker, it’s crucial to deep clean the smoke chamber to maintain its performance and prevent food contamination. Here’s how to effectively cleanse the interior of your electric smoker:
- Use a non-abrasive brush or sponge to meticulously scrub the inside walls, ensuring you remove every speck of thick grease and built-up residue.
- Rinse the inside of the smoker thoroughly with clean water to wash away all the soapy solution, along with the dislodged food and grease particles.
- Dry all surfaces completely to avoid rusting and prepare the chamber for reassembly, safeguarding against any future buildup.
Door and Glass Maintenance
Maintaining the integrity of your smoker’s door seals is crucial. Inspect them regularly for wear and promptly address any issues to prevent heat loss and smoke escape.
When it comes to the glass, a clear view is essential for monitoring your food. So, you’ll need to tackle any grime buildup with warm soapy water and the appropriate cleaning tools.
Should your gaskets show signs of damage, knowing how to replace them will save you from smoke leakage and maintain the efficiency of your electric smoker.
Seal Inspection Routine
To keep your electric smoker in top condition, you’ll need to regularly inspect and clean its door seals and gaskets.
Here’s a concise seal inspection routine:
- Inspect Seals: Check the door seals and gaskets for any signs of wear or damage that could lead to heat and smoke leakage. Look for areas where the seal might be sticking, which could hinder the door’s smooth operation.
- Clean Seals: Use a cloth dampened with warm water to gently wipe down the seals. Avoid harsh chemicals that might degrade the rubber.
- Wipe Glass: For stainless steel smokers with a glass window, ensure you clean it regularly to maintain visibility. A drip or two of water can help dislodge any stubborn particles.
Adhere to this routine to master the art of maintaining a pristine smoker.

Cleaning Glass Buildup
You’ll find that keeping the glass door of your electric smoker clean not only enhances its appearance but also allows for unobstructed monitoring of your food as it smokes.
To tackle the grease and grime on glass windows, start by applying a cleaning product designed for glass surfaces. Use a sponge to gently scrub the area, ensuring you’re reaching every corner.
If your smoker has a glass door, the visibility inside your smoker is crucial for mastery over your smoking process. After removing the buildup, dry with paper towels to avoid streaks. A bit of elbow grease may be necessary for stubborn spots.
Regularly Clean the Glass after each use to prevent future buildup, maintaining both functionality and visual appeal.
Gasket Replacement Tips
Check your smoker’s gasket and seals regularly to ensure they’re in top condition for effective heat retention. When you notice your smoker door gasket showing wear or damage, it’s time for gasket replacement tips that bolster smoker maintenance and prevent smoke leak.
Here’s a three-step guide:
- Remove the old gasket carefully, cleaning off any rust spots or corrosion with a high-temperature approved oven cleaner.
- Ensure the door seal area is completely clean and dry to maintain seal integrity before installing the new gasket.
- Fit the new smoker door gasket properly, following the manufacturer’s guidelines to prevent any gaps that could lead to smoke leaks and heat loss.
These steps are crucial to preserving your electric smoker’s efficiency and lifespan.
Exterior Surface Cleaning
Why not start by gently wiping down the smoker’s exterior with a damp cloth to remove any accumulated grime? For cleaning the outside, avoid abrasive tools. Instead, after your smoker has cooled, use a soft cloth dipped in a mixture of warm water and dish soap to keep your smoker clean and maintain its appearance. Let it cool completely before you start to prevent any risk of burns.
| Do’s for Exterior Cleaning | Don’ts for Exterior Cleaning |
|---|---|
| Wash removable parts separately | Use a wire brush on the exterior |
| Wipe with a soft, damp cloth | Apply harsh chemicals or abrasives |
| Use a mild dish soap solution | Clean while the smoker is hot |
| Dry thoroughly before storing your smoker | Leave wet to air dry |
Diligence in these steps helps prevent corrosion and extends the durability of your smoker.
Reassembly and Post-Cleaning Care
Once you’ve dried all components thoroughly, it’s crucial to align them correctly during reassembly to ensure your electric smoker functions properly.
After reconnecting the power supply, run the smoker empty with smoke for an hour to both dry any remaining moisture and re-season the interior.
Regular maintenance, including cleaning the glass door with warm soapy water, won’t only keep your smoker in top condition but also extend its service life.
Correct Parts Alignment
Precision in reassembly ensures your electric smoker’s optimal performance and safety after cleaning. Here’s how to master the correct parts alignment:
- Smoker Box and Smoke Tray: Carefully position the smoke tray back into the smoker box, ensuring it sits flat and secure. This step is vital to guarantee an even smoke distribution.
- Drip Pan: Align the V-shaped drip tray accurately beneath the racks. The drip pan collects grease and food particles, helping keep the door seal clean and maintain the overall hygiene of your smoker indoors.
- Seals and Doors: Double-check that all seals are intact and the door closes properly. Correct alignment here prevents smoke leakage and heat loss, crucial for the efficiency of your electric smokers.
Adhering to these steps after cleaning electric smokers will ensure new electric smoker-like performance every time you smoke and set up for cooking.
Discusses the importance of cleaning and different methods for doing so. The author recommends cleaning after every cook and using preventative measures to minimize cleaning. He also provides a detailed schedule for cleaning different parts of the smoker.
https://www.smoking-meat.com/how-to-clean-your-smoker
Long-Term Maintenance Tips
After you’ve thoroughly cleaned your electric smoker, it’s crucial to focus on the reassembly and post-cleaning care to ensure your smoker’s longevity and optimal performance. Reassemble with precision, ensuring all parts align correctly, which is vital for avoiding malfunctions. It’s a rule of thumb to keep the smoker dry before reassembly to prevent rust and electrical damage.
Deep cleaning your smoker after heavy use is essential, but don’t overlook the need to be cleaned after every use. Grease drippings and food particles can accumulate, necessitating high heat to burn off any residue. To keep your smoker in top condition for a long time, follow these guidelines:
| Maintenance Task | Emotional Benefit |
|---|---|
| Clean your smoker | Peace of Mind |
| Inspect seals and gaskets | Assurance of Quality |
| Apply protective cover | Confidence in Longevity |
Conclusion
Now that you’ve scrubbed and shined your electric smoker, you can expect optimal performance and delicious smoky flavors in your next barbecue.
Remember, regular maintenance not only keeps your smoker in top condition but also ensures your food’s safety and taste.
So, don’t skip out on the cleaning routine—your palate and guests will thank you.
Happy smoking, and here’s to many more mouth-watering meals from your spick-and-span electric ally!


